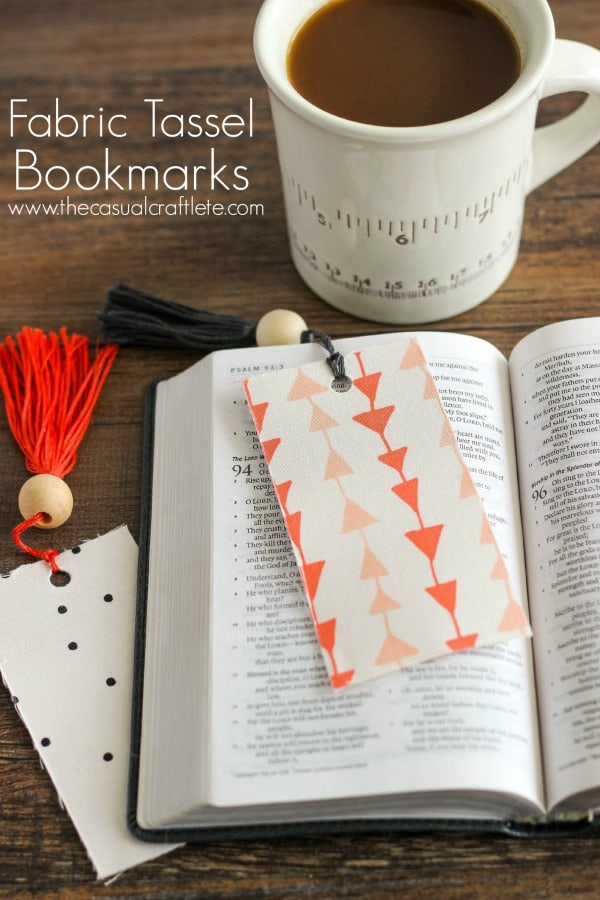
 Hello there! I have been waiting awhile to share this post with y’all. Today I am going to show you how to make easy Fabric Tassel Bookmarks. I just love how this craft project turned out. It is so simple and such a fun little bookmark to make. I will be heading to my first blog conference (SNAP!) in just a few days and I made these bookmarks to hand out with my business cards. I wanted to make a simple, fun craft that also reflects The Casual Craftlete. I chose materials with colors of my logo as well as an arrow pattern which is also in my logo. Plus, it’s a simple to make craft, which is what my blog is all about. Check out how easy these bookmarks are to make!
 Some of my favorite crafts to make are the ones that are heartfelt and have lots of meaning behind them. So, it’s no surprise that these fabric tassel bookmarks are super special to me. I also wanted to make a craft that everyone could use. Most people read or at least know someone who likes to read. That is why these bookmarks are universal and can be given for any occasion.
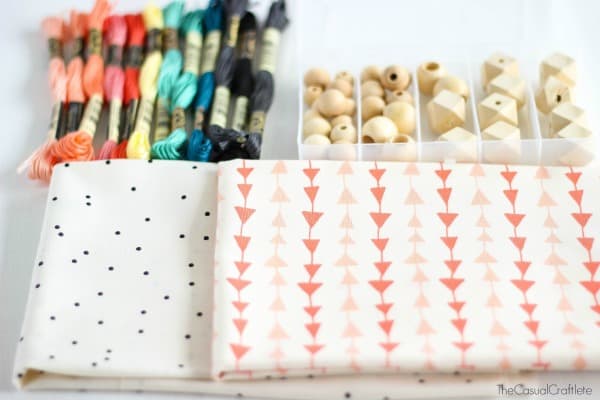
Here are the materials I used to make the fabric tassel bookmarks:
- Fabric – I bought mine here
- Embroidery floss
- Small wood beads – I believe the beads I used are 5/8 inch
- 8.5 inch x 11 inch white cardstock
- Mod Podge
- Foam brush
- Scissors and paper cutter
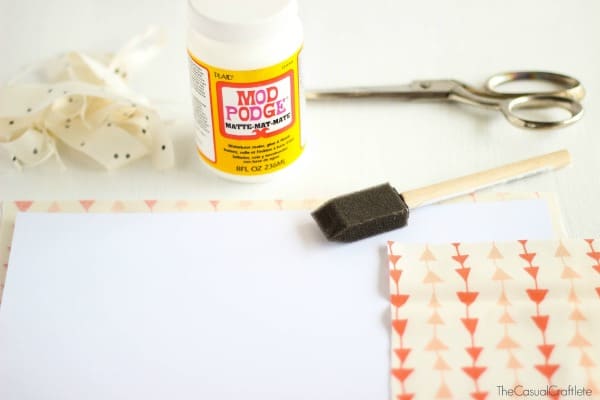 First I started with one piece of 8.5 inch x 11 inch white cardstock. Next, I cut two pieces of the same fabric pattern just slightly larger than the cardstock. By cutting the fabric larger, you don’t have to worry about placing the fabric on the cardstock perfectly. This gives you some leeway and you can trim the edges later.
After the fabric is cut, I used a small foam brush to apply Mod Podge to one side of the cardstock. You need to work quickly so the adhesive doesn’t dry on you. Then immediately place one piece of the fabric on top and smooth out with your hands. Repeat these steps to the other side of the cardstock. I placed a cutting mat stacked with books on top of the fabric covered cardstock and let dry overnight.
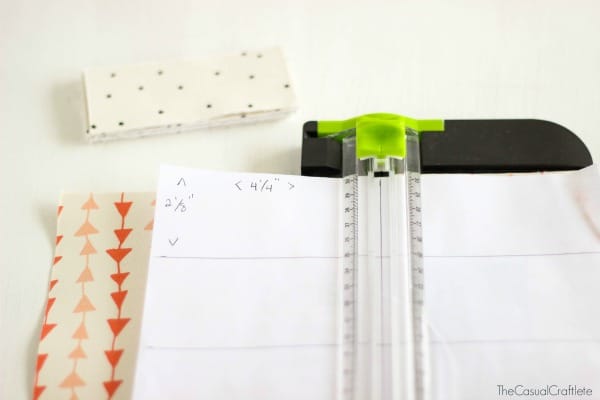 After the adhesive is completely dry, now you need to cut out the bookmarks. I made a template that is 2 1/8 inches wide x 4 1/4 inches tall per bookmark. You should get ten bookmarks per piece of cardstock. I used a paper cutter to cut the fabric covered cardstock. The fabric does fray, but I love the look. It looks homemade and crafty, which is what I wanted.
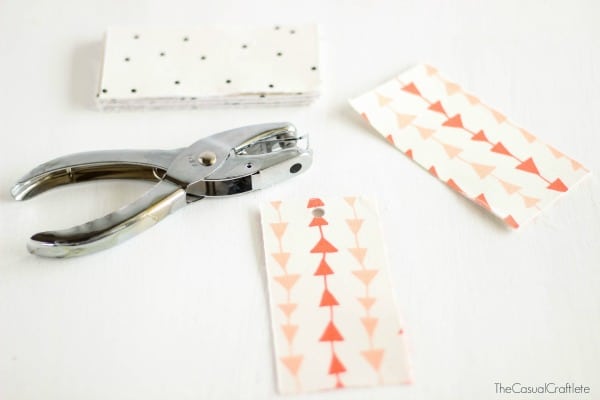 I used a regular sized hole punch and punched holes at the top center of each bookmark. Now that the bookmarks are made, it’s time to add tassels.
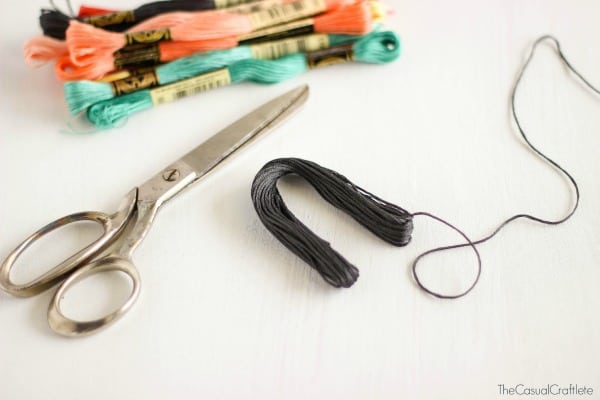 Each bundle of embroidery floss should give you two tassels. Start by folding the floss in half. Pull a long piece of the floss out and reserve it for later. Cut the folded floss using scissors.
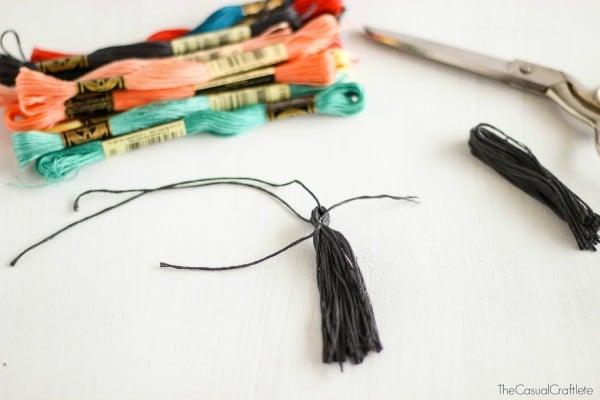 Cut a piece of the reserved floss and thread it through the center of the tassel. Then take a second piece of the floss, which I grabbed from the bundle and tie it just below the fold. Double knot it so it doesn’t come untied. Then, trim the tails.
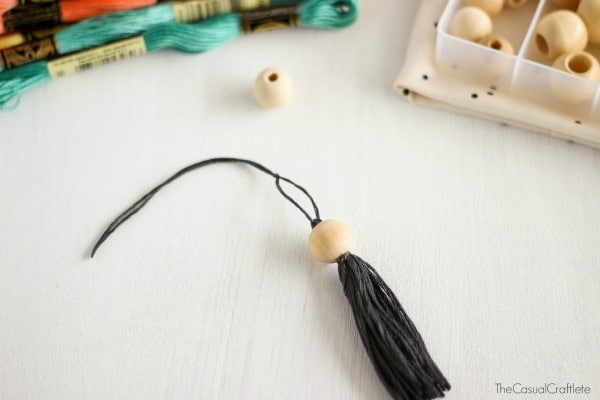 I added a small wood bead to the tassel by fitting the fold into the bead. The floss is nice and tight inside the bead so no need to tie a knot. You could always paint the wood beads, but I like the natural wood look.
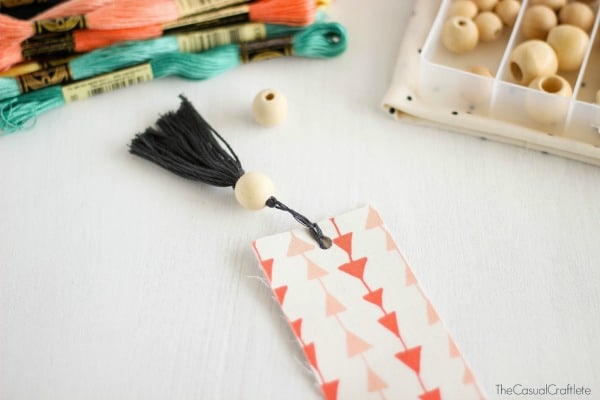 Finally, just tie the tassel through the hole punch on the bookmark. Cut off any extra floss.
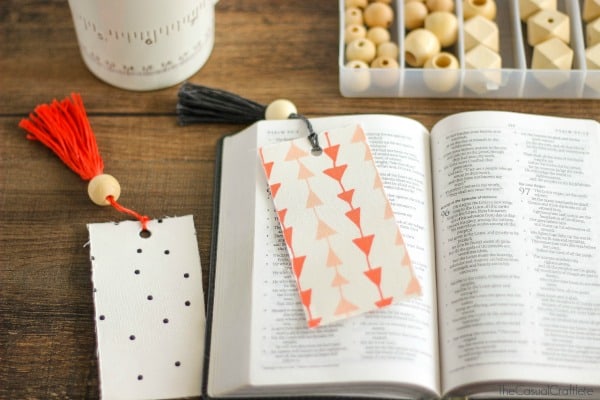 I made ten black polka dots bookmarks and ten pink and coral arrow bookmarks with lots of different pretty colored embroidery floss. If you are attending SNAP! and would like a bookmark, just hit me up and say hi!
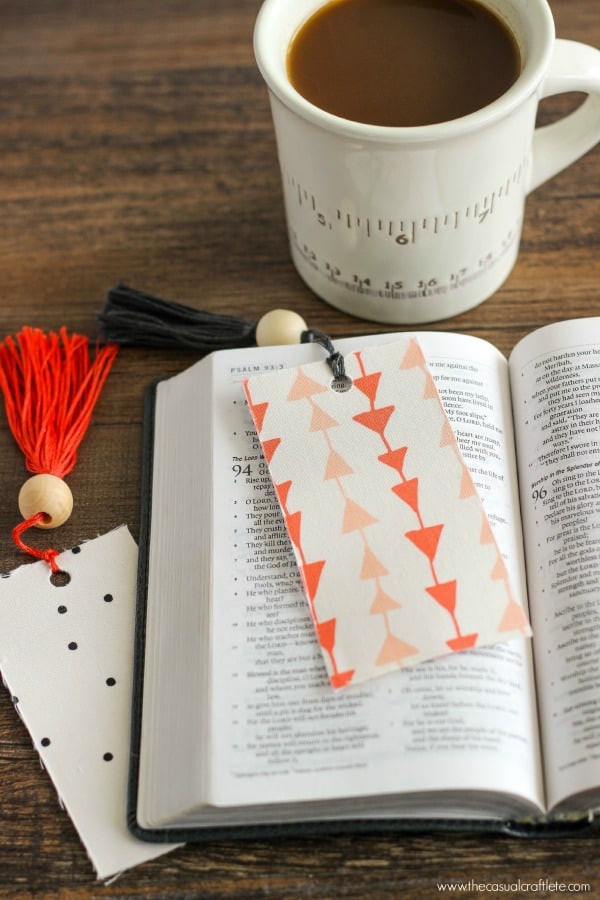 These Fabric Tassel Bookmarks make a great gift for all occasions. I hope I have inspired you to make your own! Wish me luck at the blog conference.
YOU MIGHT ALSO LIKE:
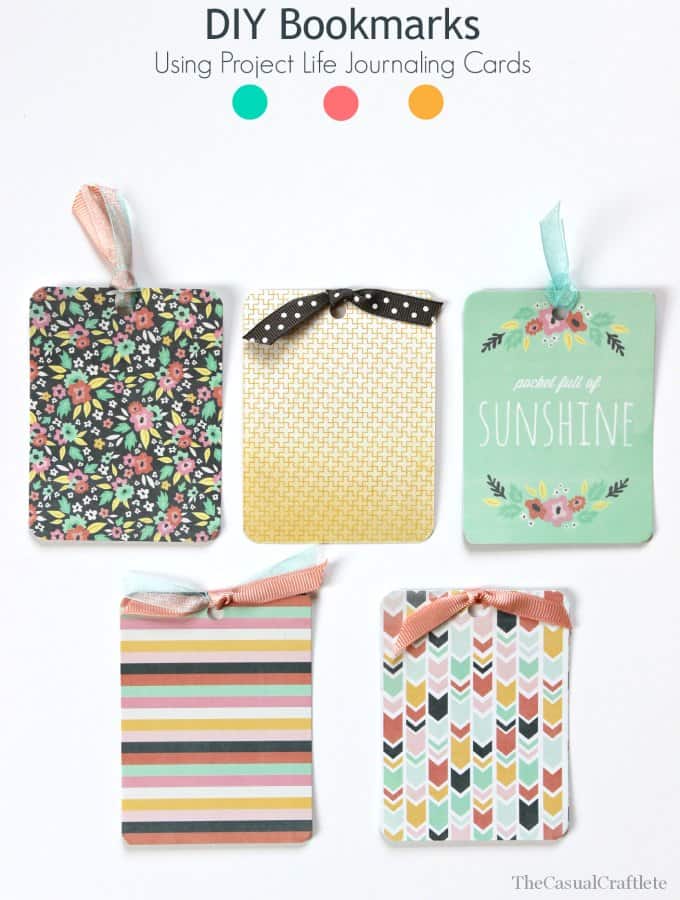 DIY Bookmarks using Project Life Journaling Cards
I just love these! Wish I was going to SNAP so I could see them in person. 🙂 I’ve made fabric covered cards using this method but never thought to make a bookmark–the tassels are too cute! Sharing and pinning this! Have a great day. 🙂
Thank you SO much, Jennie! This is also a nice project to use up scrap fabric. Let me know if you make some bookmarks. I love the idea of fabric cards. I might have to do that. Thanks for sharing! Have a wonderful day. xo
I love bookmarks; however, I don’t read enough to put them to good use. Guess I better get on that 😉
I love the bookmarks and where did you get that cup.
Thanks Lisa! A blogger friend of mine gave me the coffee mug. It’s super cute! I’m not sure where she got it…sorry.