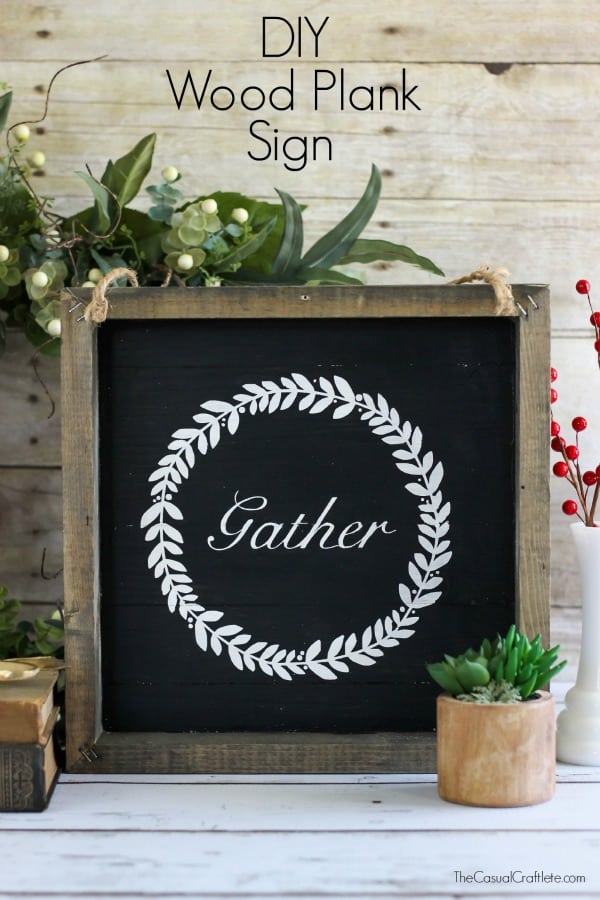
Easily create your own DIY Framed Wood Sign to hang in your home with a few simple steps.
This is a sponsored post written by me on behalf of DecoArt. I received compensation and product for this post. All ideas and opinions are 100% my own.
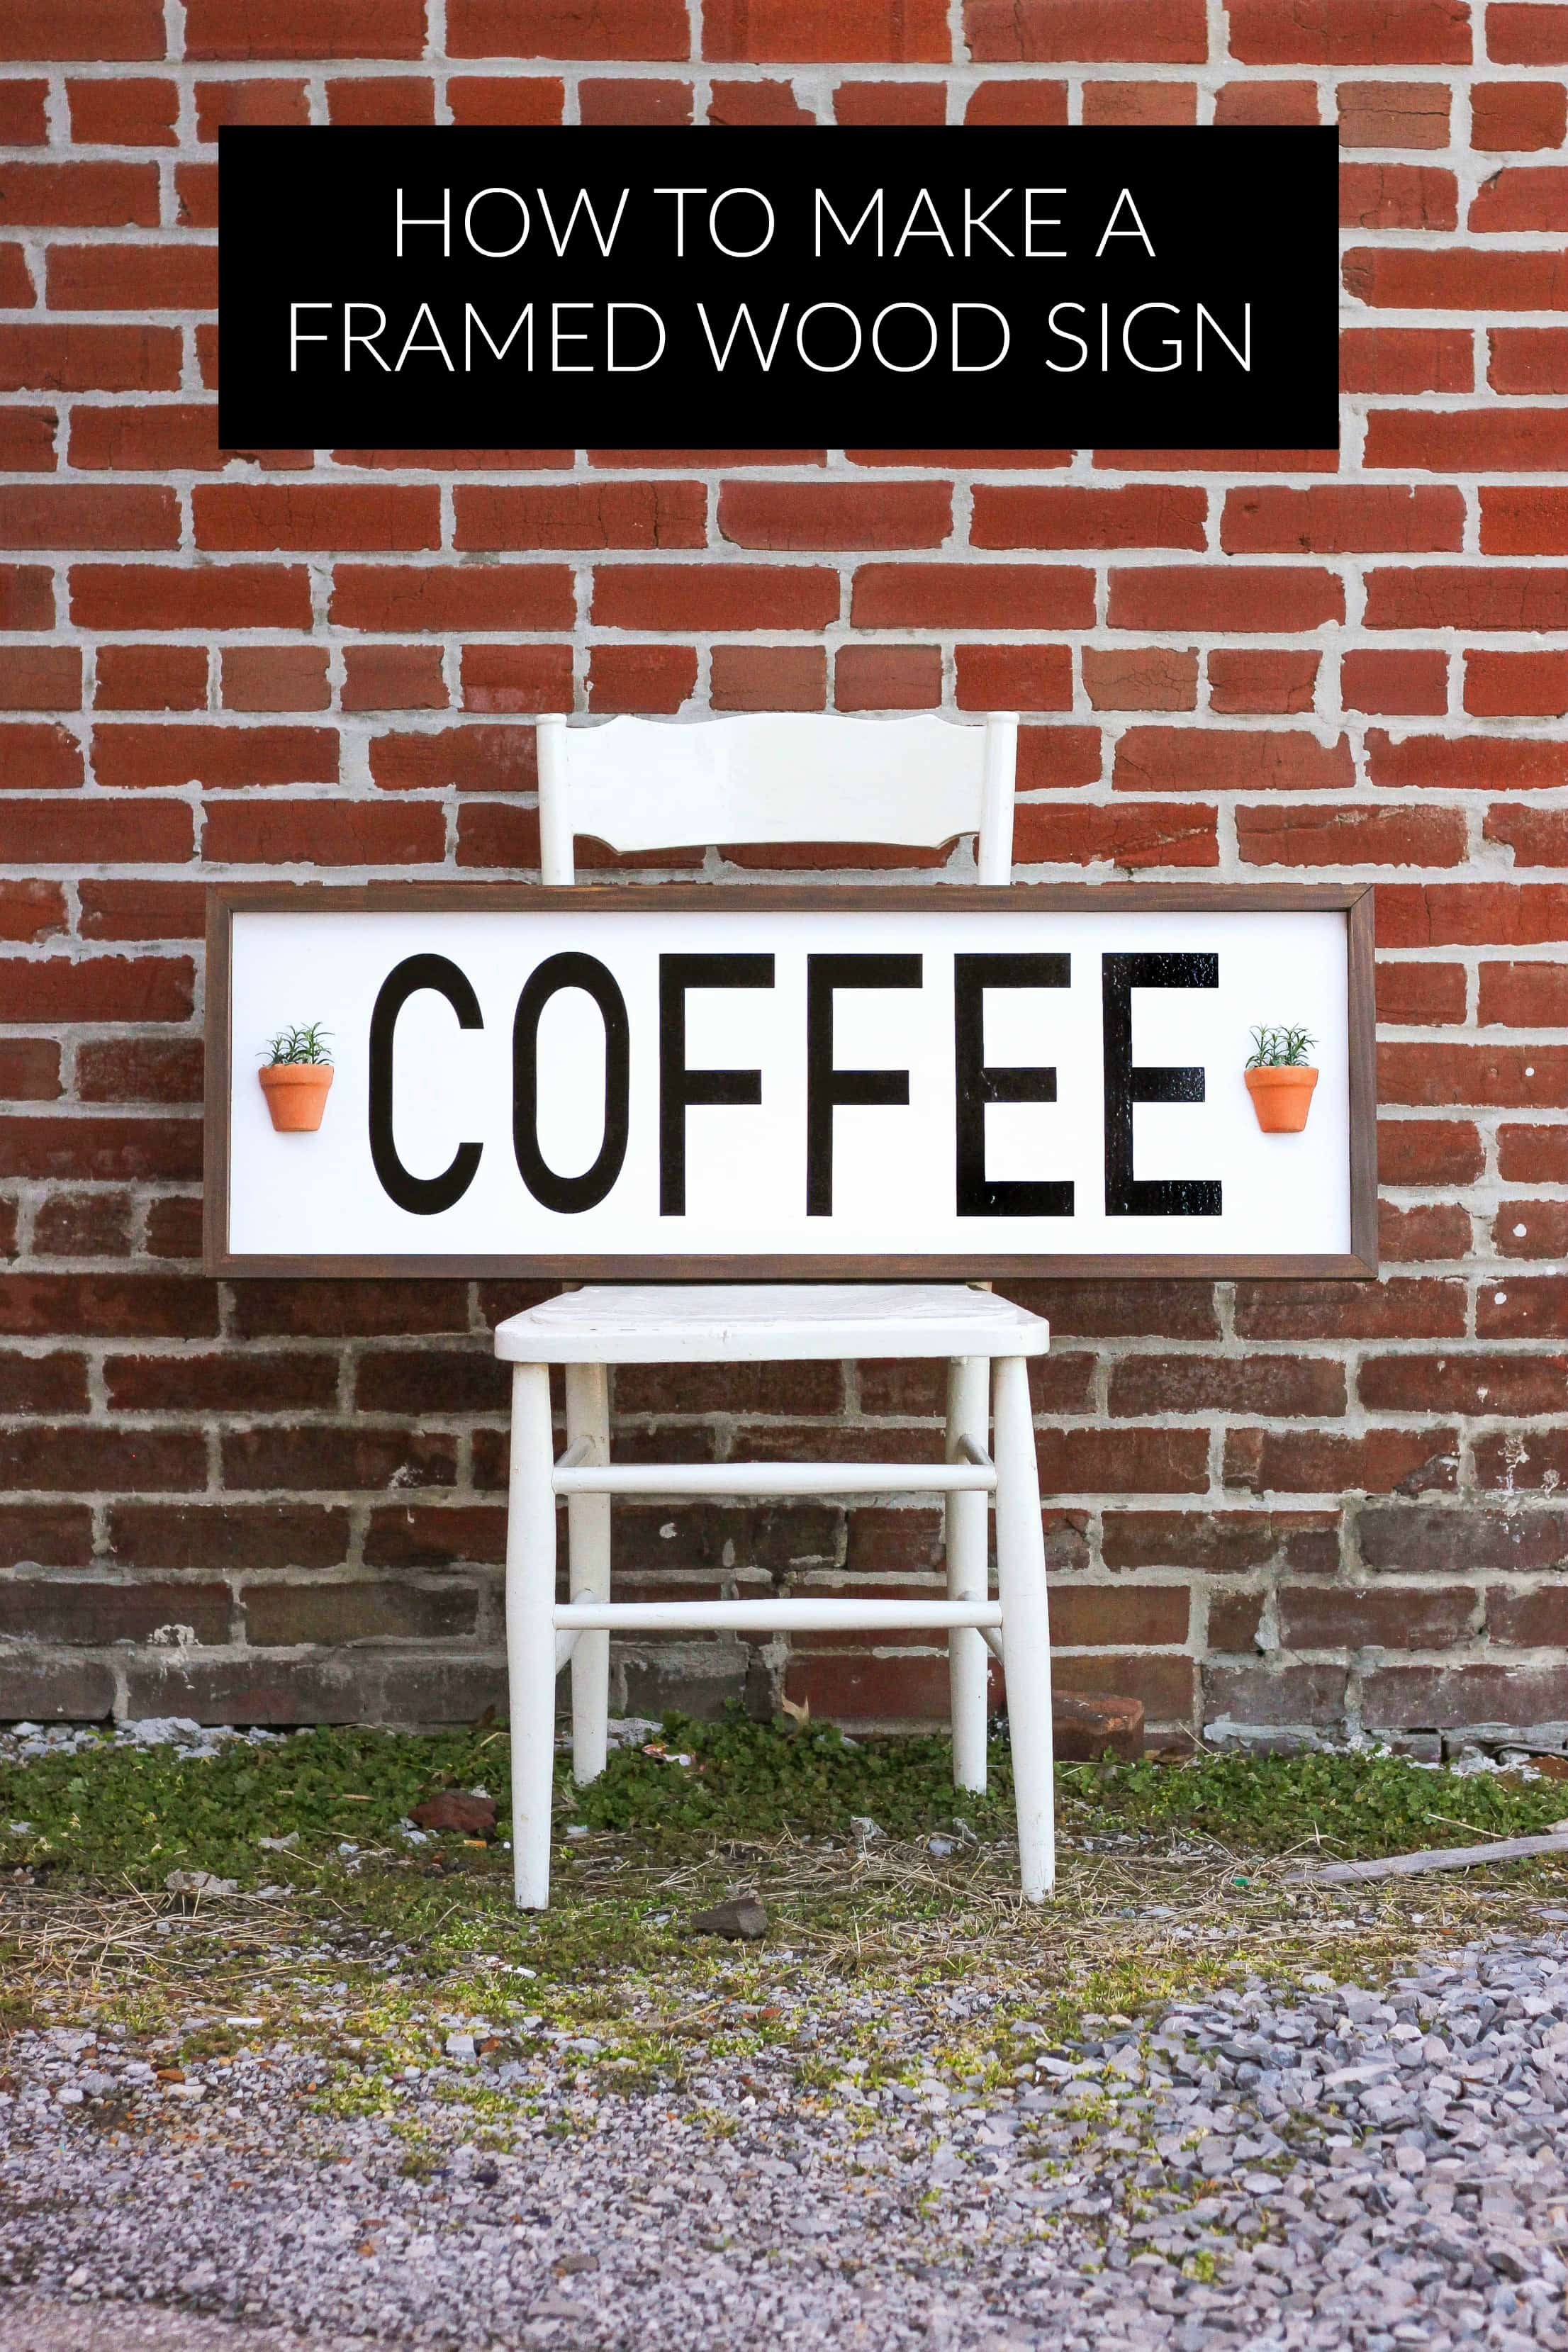
We are slowly doing a mini kitchen makeover and one of the things that I wanted to make was a sign to hang above the widows. If you know me, then you know I am all about the coffee. I have been drinking it for most of my life and coffee is just a part of who I am. It’s no surprise that I would choose that word to put on my DIY Framed Wood Sign. Of course, you can choose any word or phrase you like to your sign.
Supplies (affiliate links):
- Americana Decor Satin Enamels 8oz – Pure White
- Americana Decor Color Stain 8oz – Black
- Americana Decor Color Stain 8oz – Chocolate
- Wood
- Paint Brush
- Sanding Block
- Nails/Nail Gun
- Wood Glue
- Terra Cotta Pots (optional)
- Cricut Explorer Air 2
- Black Vinyl
- Transfer Tape
- E6000 Adhesive
Instructions:
Start by cutting your wood pieces. Your sign does not have to be the exact size that I made. You can create the size you need to fit into your home. I bought some 2″ wide by 3/4″ thick by 8′ long boards from the lumber yard. I cut the ends at a 45 degree angle to make the frame. I used a piece of wood 12″ wide by 3/4″ thick by 30″ long to make the back.
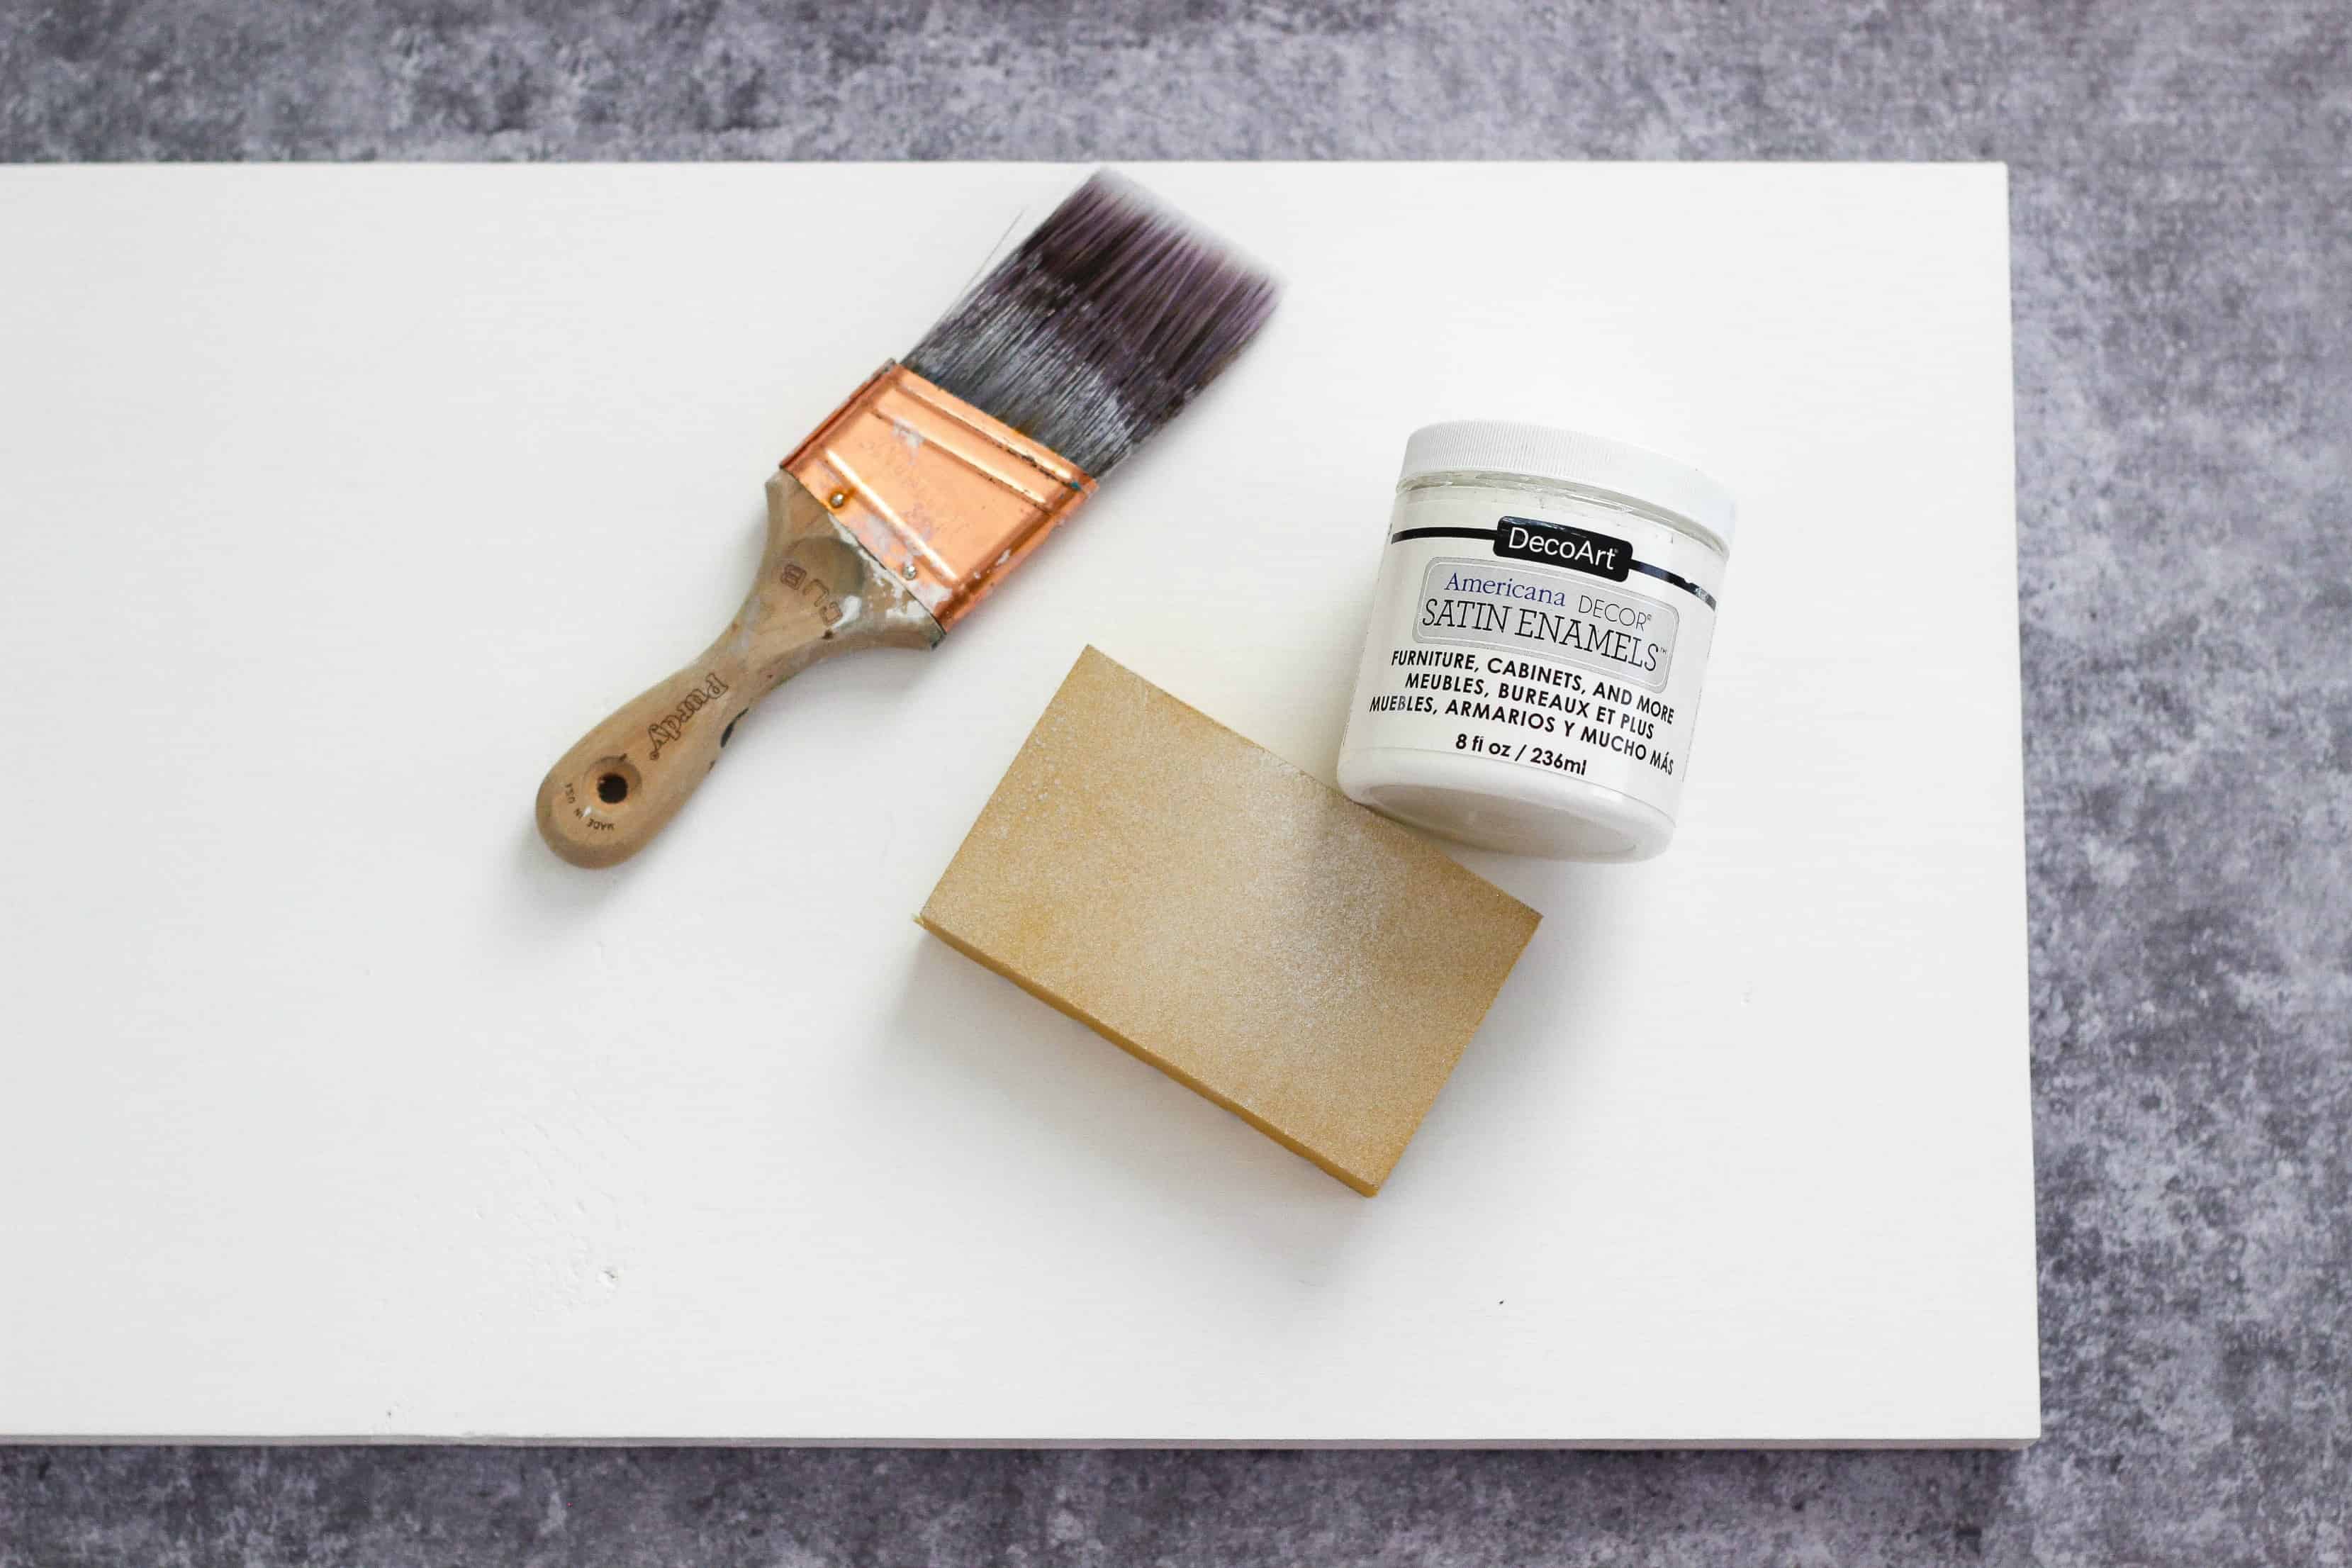
I painted three coats of Satin Enamels paint in pure white on the top and sides of the pine board. You want to slightly sand in between each coat for a smooth surface. Allow each coat to dry completely before adding additional coats. I wanted to completely cover the board but if you want some of the board showing you won’t need to paint as many coats.
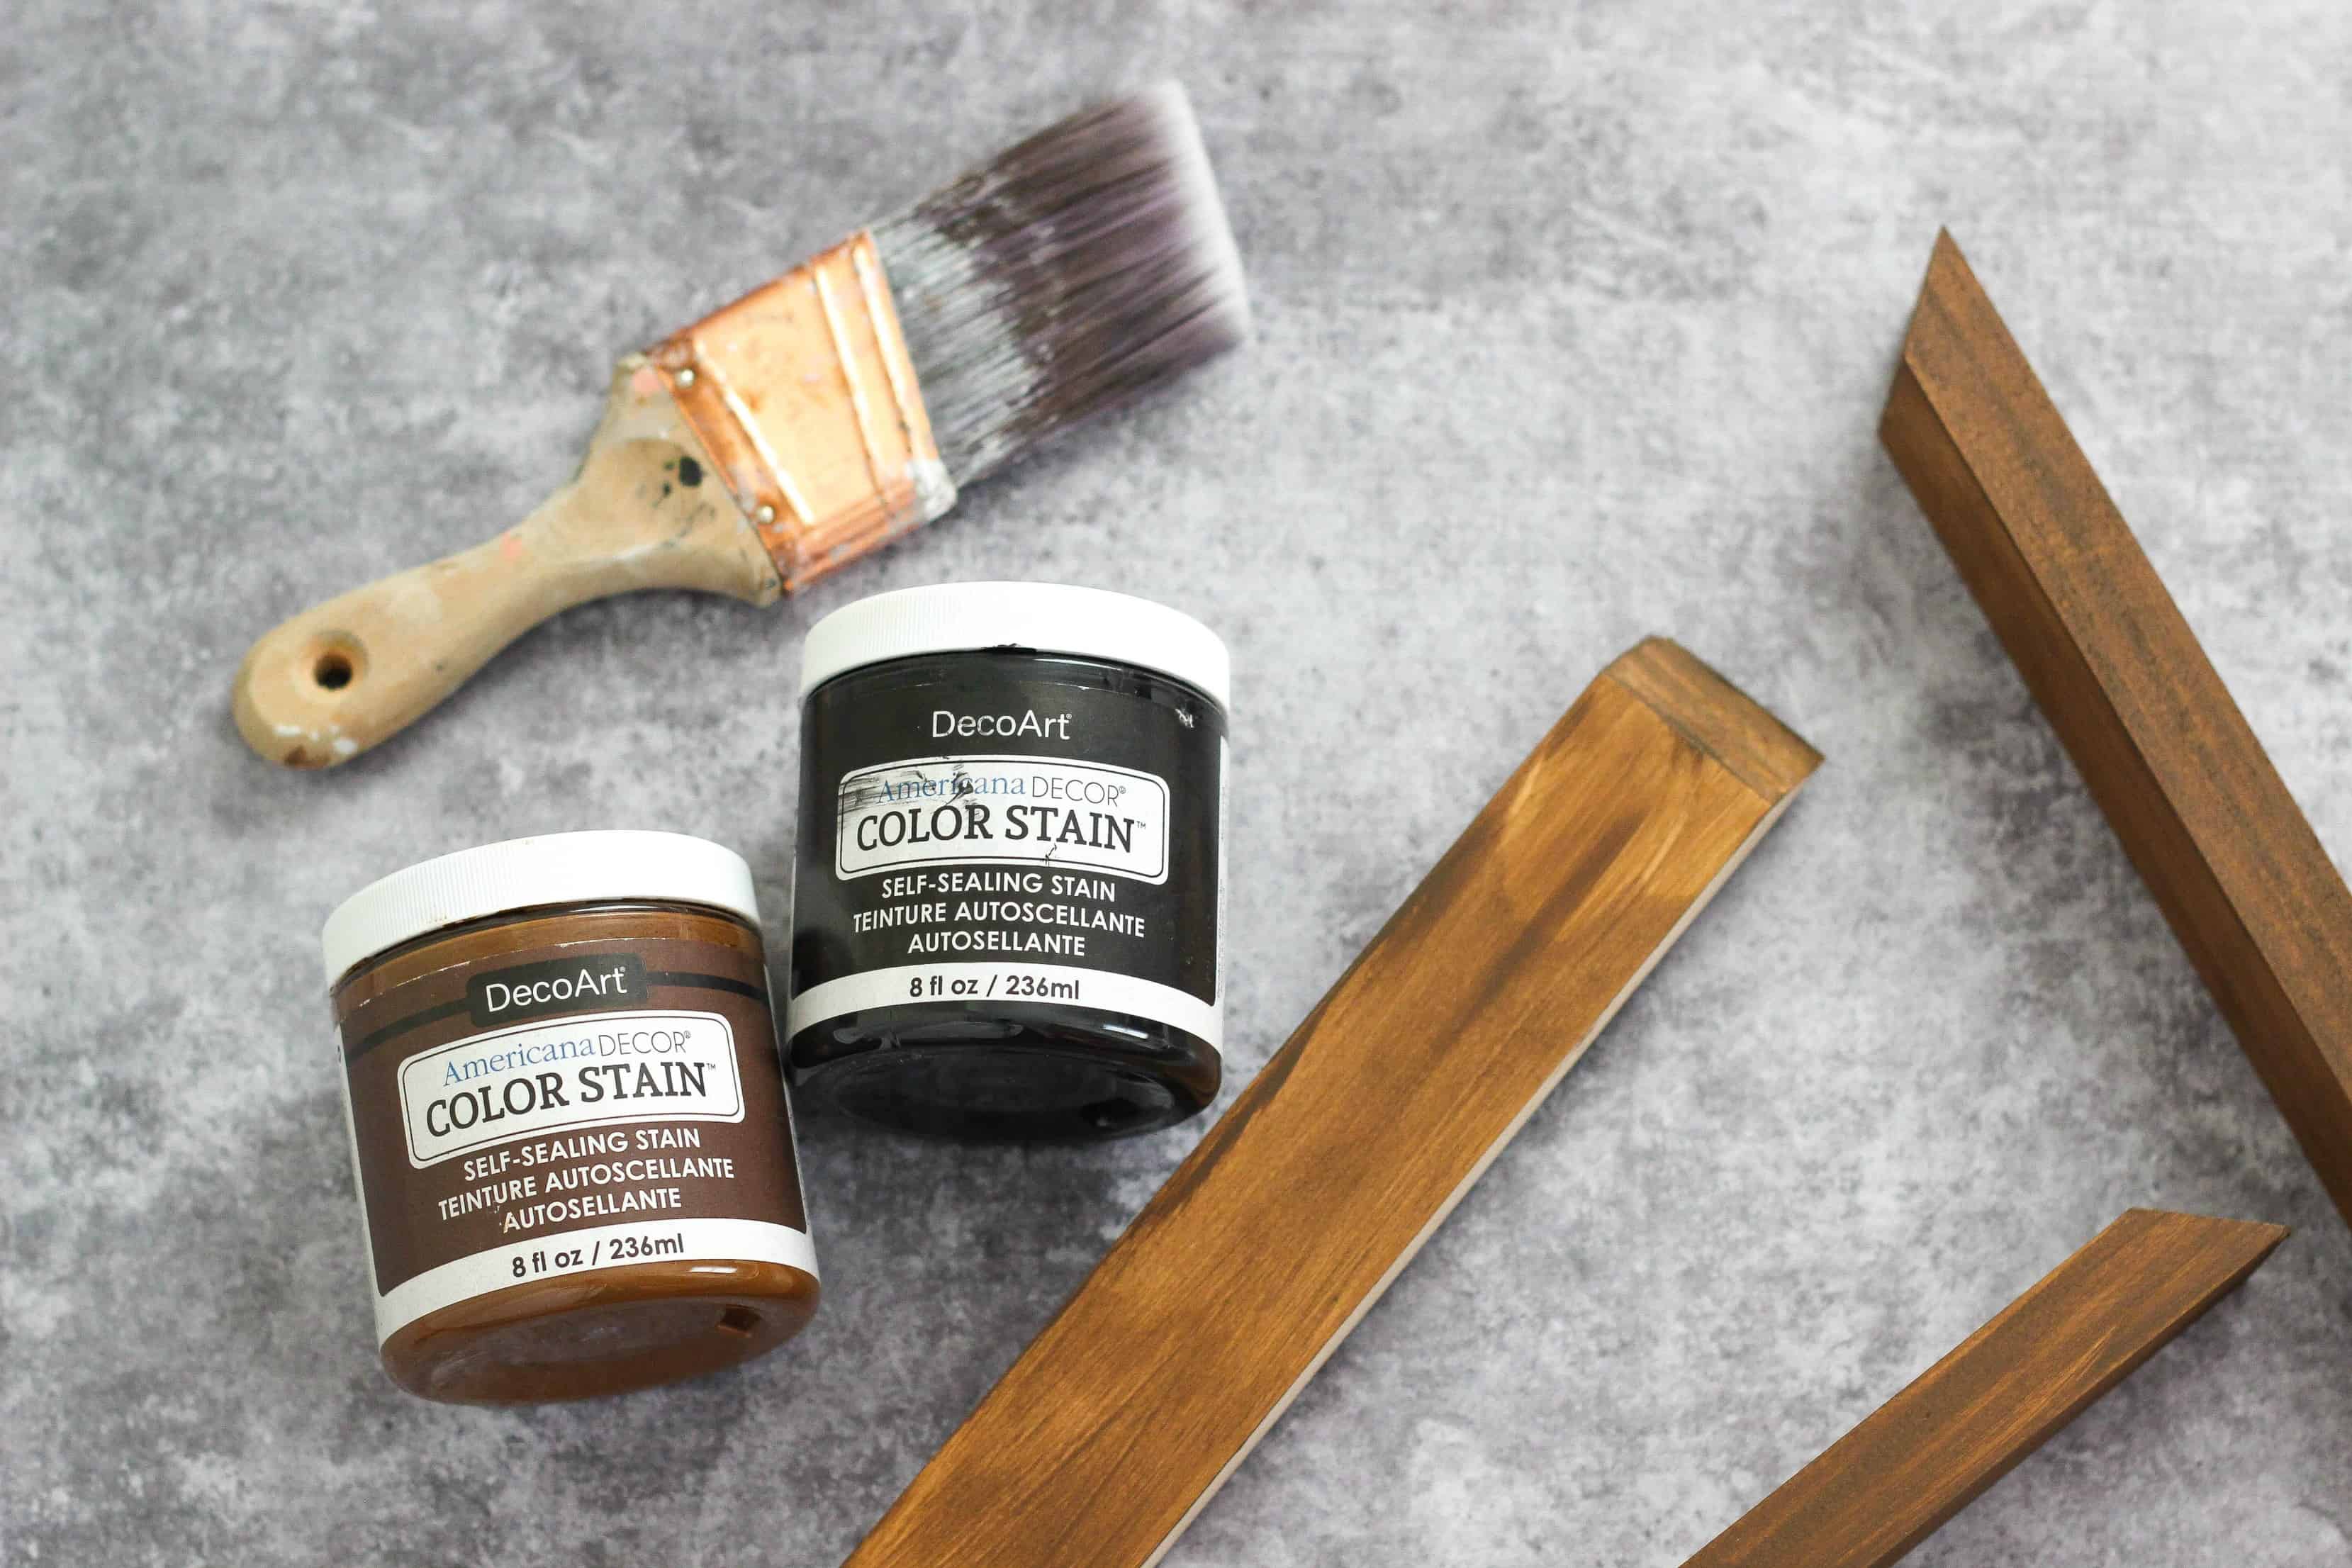
For the wood frame I wanted a dark wood stain so I mixed three parts Color Stain in chocolate to one part Color Stain in black. I used a paint brush to apply one coat of the custom color stain. I really like the Americana Decor Color Stains because they are much easier to use and clean up than traditional wood stains. Remember when you use a stain that the grains in the wood pick up the stain differently so every piece will be slightly different.

I found a box of mini half terra cotta pots in a local junk store and wanted to add them to the DIY framed wood sign. I decided to not paint the pots because I like the color of the natural terra cotta. I clip a few sprigs of a faux plant from IKEA and placed them in the pots. You could use real plants but I have a black thumb and seriously can’t keep anything alive. I used E6000 adhesive to glue one pot on each side of the text on the wood board.
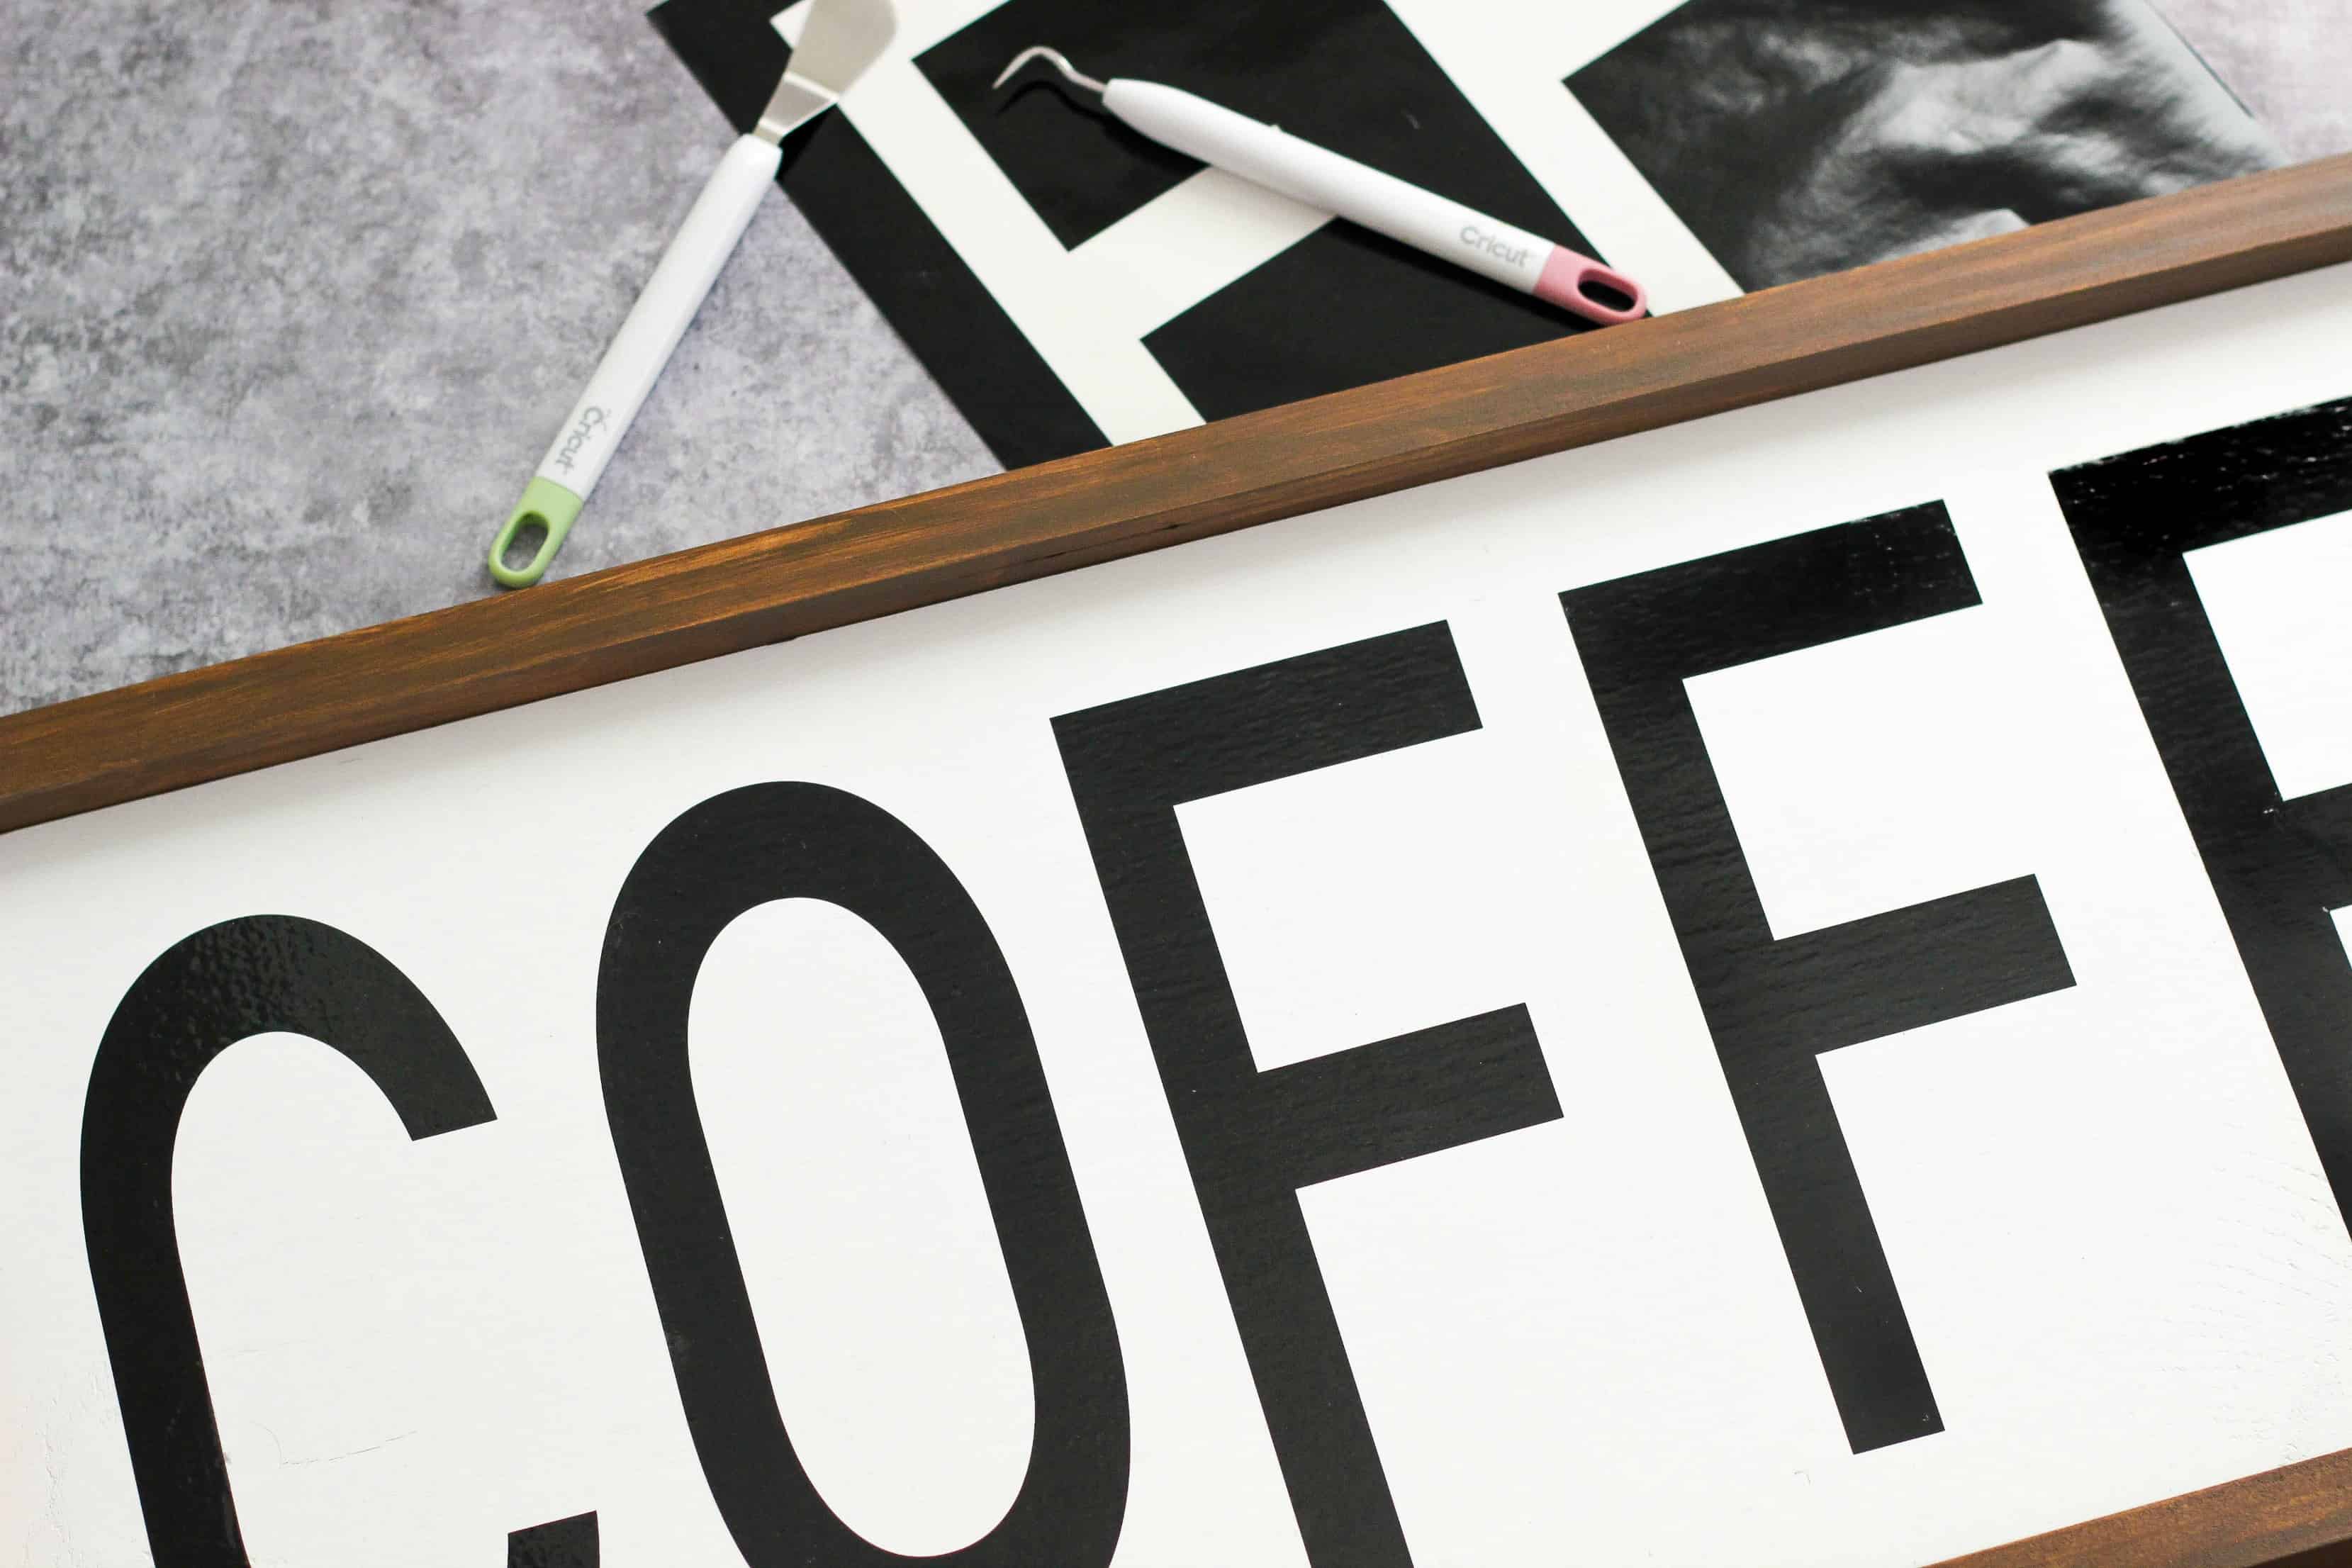
I used my Cricut Explorer Air 2 to create the coffee text using vinyl. I choose the font Modern and sized the letters to fit on the sign. Then I used permanent black vinyl to cut the letters on. Next I cut a piece of transfer tape to fit over the vinyl text and placed the letters on the wood sign. Because the letters are large, they were easy to place on the wood. I glued and nailed the the painted frame pieces to the painted wood board and let it dry overnight.

I hope this DIY Framed Wood Sign tutorial has inspired you to create your own sign. You can choose your own quote for a custom decor sign.

YOU MIGHT ALSO LIKE:
As pretty as this COFFEE sign is, I have to say that it’s even prettier in person! Great job, Katie!
Thanks Terry! I love the finished product.